Tuff Shed Junior ADU Conversion: The San Jose Owner’s Guide
Converting a Tuff Shed into a junior ADU (an accessory dwelling unit, meaning a second smaller living space on your existing property) in San Jose typically runs $85,000 to $145,000 when tackled as a full conversion, while fixing or replacing failed conversion components, like window flashings, subfloor sections, or improperly sealed wall panels, usually lands between $450 and $3,800 depending on what gave out. We stock Tuff Shed-compatible materials and parts on our trucks for the most common failures we see across San Jose, including warped door thresholds, failed wall-to-floor seals, and undersized electrical rough-ins from earlier DIY attempts. Most owners discover a problem when a musty smell shows up after the first real rainy season, or when the mini-split struggles to hold temperature in August. The root cause is almost always the same: the original shed shell was never meant to be conditioned living space, so the transition points fail first.
We are an independent service provider in San Jose. We work on Tuff Shed conversions regularly and know their framing, fastener patterns, and the specific points where they leak or sag when pushed into ADU duty, but we are not affiliated with Tuff Shed, Inc.
Which Tuff Shed Models This Applies To
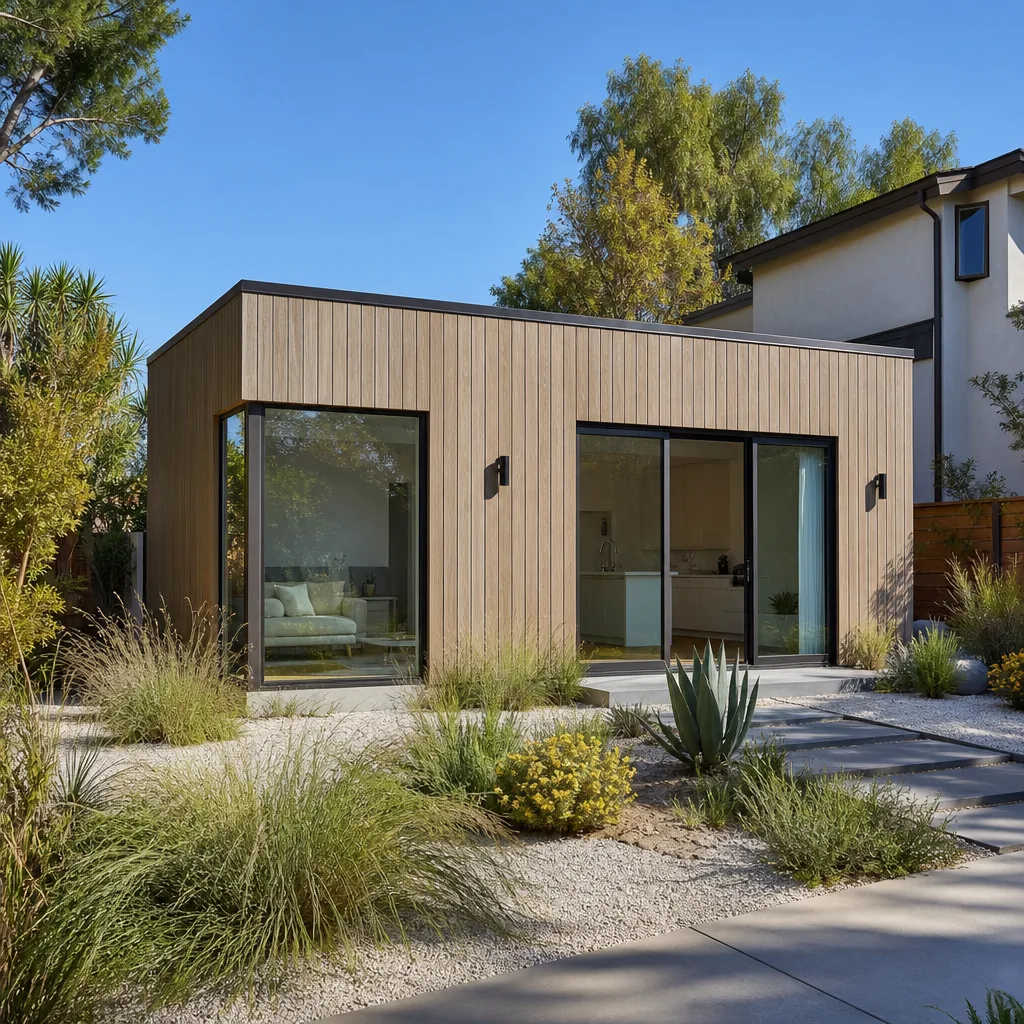
The conversion issues we fix most often involve Tuff Shed’s Premier PRO series and the older Ranch and Barn styles, because those are the shells San Jose homeowners most commonly buy for backyard ADU or JADU (junior accessory dwelling unit, the sub-500-square-foot version) conversions. The Premier PRO Tall with 8-foot sidewalls is the one we see turned into living space most often, and it has a specific quirk: the standard floor kit uses 2×4 floor joists spaced 16 inches on center, which is fine for storage but undersized for a finished living space once you add tile, a kitchenette, and a bathroom. We routinely reinforce those floors before finish work begins.
If you’re trying to identify what you have, look for the manufacturer label on the inside of the door jamb or on the back wall’s top plate. It lists the model, the production date, and the wind and snow load rating. Measure the sidewall height and the on-center stud spacing before ordering any replacement wall panel, door, or window; Tuff Shed has changed stud spacing between production years, and a panel cut for an older 2×3-framed Ranch will not fit a newer 2×4-framed Premier PRO. For most conversion parts we use quality aftermarket materials matched to the existing dimensions, because Tuff Shed’s OEM replacement panels ship bare and unpainted while aftermarket equivalents can be ordered pre-primed and ready for paint.
Signs Your Tuff Shed Junior ADU Conversion Is Failing
- Musty smell after rain, especially along the bottom wall plates. The standard Tuff Shed wall-to-floor connection is designed to shed water outward, but once you insulate and drywall the interior, any gap at that seam traps moisture. In San Jose’s wet winters, that gap becomes a mold line within one season.
- Door or window reveals have shifted, so the door rubs the jamb. The shed’s original slab or pier foundation may be settling unevenly now that the building carries real weight, like drywall, tile, and furniture. The door is usually the first thing to tell you.
- Mini-split runs constantly and the room still feels damp in summer. Tuff Shed walls are thin, often 2×4 or even 2×3 depending on the model, which means you got maybe R-11 insulation if the first contractor even insulated. A conditioned conversion needs a proper thermal envelope, not just a unit bolted to the wall.
- Floor feels springy or spongy near the bathroom or kitchenette. The original floor decking is typically 5/8-inch OSB over 2×4 joists. Add a shower, a water heater, and foot traffic, and that floor deflects. Water intrusion at the toilet flange accelerates rot from below.
- Electrical outlets are warm, or circuits trip when you run a toaster and a space heater. Many DIY and handyman conversions tapped the existing shed subpanel, which often has far too little capacity for a dwelling unit. Undersized wiring is the most common code-violation we’re called in to correct in San Jose.
Replacement Cost & What’s Included
Here is what you should expect to pay for common fixes on a Tuff Shed junior ADU conversion in San Jose:
- Wall-to-floor seal replacement and flashing repair: $450 to $1,200, depending on the number of affected walls and whether the bottom plate needs replacement.
- Floor reinforcement (adding joists or sistering existing ones): $1,800 to $4,200 for a typical 10×16 or 12×20 shell.
- Door replacement with a properly weather-sealed exterior door: $800 to $1,900 installed, including new flashing and threshold pan.
- Full electrical correction to meet San Jose dwelling-unit code: $3,200 to $8,000, depending on the existing panel capacity and how much of the original wiring must come out.
- Complete shell remediation and finish rescue (floors, walls, insulation, electrical): $25,000 to $60,000, which is what we quote when the “finished” conversion was never actually finished right.
Every quote is a written, line-item price before any work begins. No price changes at the door. The labor carries our 365-Day Done Right Promise: if the fix fails during that first year, we come back and make it right at no charge, and that promise is in writing before the first screw comes out. Russ Delmar signs every estimate himself.
DIY or Call Us?
Some things you can check yourself. Look at the bottom wall plates from the outside for gaps or daylight. Run your hand along the floor near the bathroom for soft spots. Check whether the door rubs when the weather changes. Those observations help you describe the problem accurately over the phone, and they cost you nothing. What you should not do is open up an electrical panel, pull apart a load-bearing wall, or cut into the floor structure. Wiring done wrong in a dwelling unit is a fire risk, and a compromised floor on an occupied ADU is a structural failure waiting. If you’re unsure, call us at (669) 266-4319 and describe what you’re seeing. We’ll tell you if it’s urgent, what it probably is, and what the fix is likely to cost before we ever schedule a visit.
FAQs
A properly remediated Tuff Shed conversion in San Jose, with the floor reinforced, the wall-to-floor seal corrected, and the electrical brought up to code, should function as livable space for 20 to 30 years with normal maintenance. The original shell can last decades; it’s the conversion shortcuts that fail in the first two to five years. Call us at (669) 266-4319 for an honest assessment of what you’ve got and what it’ll take to make it last.
It depends on what failed. Wall-to-floor seals and flashing can often be repaired in place. Rotted bottom plates, badly sagging floor joists, and undersized subpanels typically need replacement. We’ll tell you which path makes sense for your situation and give you the price either way before you commit to anything.
A wall seal or door replacement is usually done in one day. Floor reinforcement takes two to three days. A full electrical correction can take three to five days depending on the panel work and how much drywall has to come out. We give you a defined arrival window and a defined completion window in writing before work begins.
Yes. Our trucks carry the most common Tuff Shed-compatible conversion materials: bottom plate stock, flashing, weather-sealed exterior door units, floor joist lumber, and common electrical rough-in components for San Jose code compliance. We also work with materials from Abodu, Cover, and Dvele when the conversion calls for their components. If we don’t have the part on the truck, we tell you when it’ll arrive and what the total price is before you pay anything.
If your Tuff Shed junior ADU conversion is showing signs of trouble, or if a previous contractor left you with half-done work and a stack of permits that went nowhere, call Lodgewick ADU San Jose at (669) 266-4319. Tell us what you were promised before, and we’ll tell you what we can actually deliver. We answer the phone with a live person, we give you a written price before any work starts, and we back every fix with the 365-Day Done Right Promise in writing.
Written by Russ Delmar, Owner, Lodgewick ADU San Jose at Lodgewick ADU San Jose, serving San Jose and nearby areas.